


I have a confession to make.
If you’ve seen my recent posts this probably won’t come as a surprise. But I’m going to put it out there anyway…
I like ‘stuff’.
Before the sniggering gets any louder, I should make it clear that’s not a euphamism. These days, the stuff I’m most fond of takes the form of classic computers, video arcade games, and related memorabilia.
Yes, I enjoy the games, but I also consider myself a connoisseur of their materiality, aesthetics, and design. That’s not to say I’m ‘materialistic’. There are limits to my love of stuff. Without limitless money or space, there have to be. But at the same time, I don’t want to be drowning in it. For me, peronsally, too much clutter is unsettling. I’m not a fan of heaps. Besides, I feel that if you look after your stuff, and take care of it, it’ll stay in better shape, for longer, and give you more enjoyment with it.

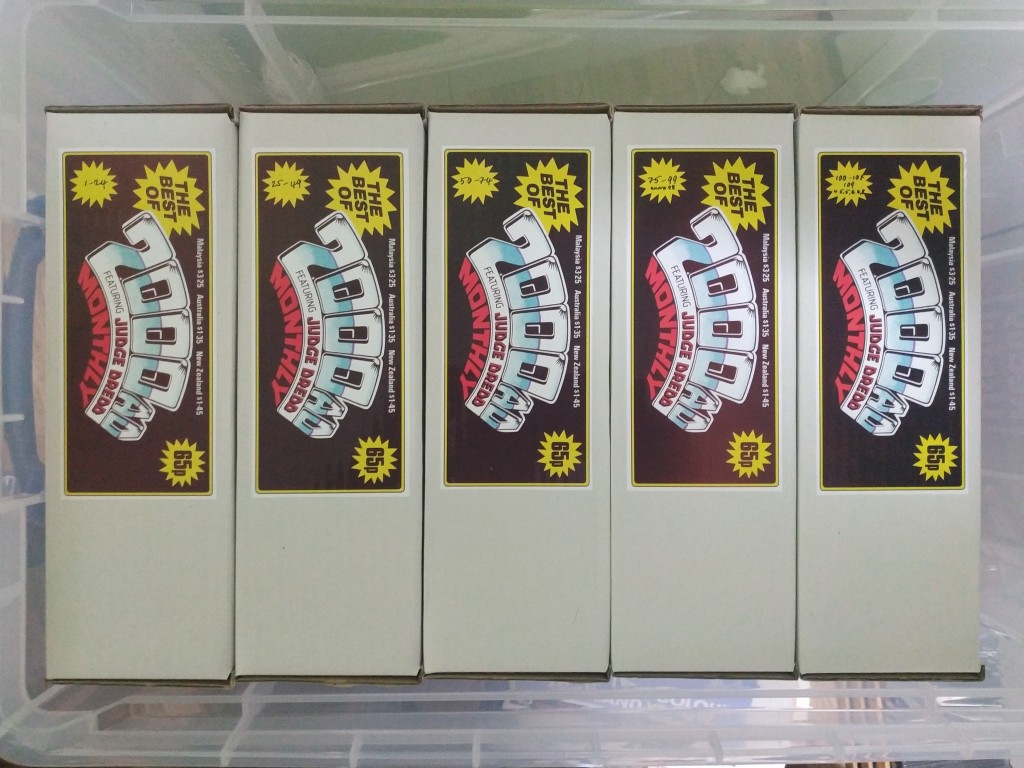
Get in the box!
As far as leitmotifs go, that’s as true for retro-computer kit as it is for just about anything else. If you let it get too dusty, too rusty, too chipped or too cracked, it’ll not only lose its shine, but stop working altogether.
That’s why, over the past 3 or 4 years, I’ve made some efforts to tidy mine up.
The first step was to curate the ‘collection’.
OK, so I’m as guilty as most of you lot of having all kinds of stuff I’m unlikely to use again. But I’ve made some attempts to thin it out. For the things I rarely used, I’ve invested in some ‘really useful’ storage boxes, and found a space for them in the loft.
Universal Games Cases
With the stuff I am likely to use, if only occassionally, I want it to look its best.
I’ve made efforts to clean, recap or otherwise tweak the machines, which I may well return to in a future post. I know a lot of you are sticklers for keeping things original. Maybe you’re especially keen on collecting the original cardboard boxes for the old console games, and keeping them sealed in plastic box protectors. While I can see the appeal of that, I’m afraid it’s not for me. I like things to be a bit more accessible.
Unless something held a specific nostaligic attachment, I’d much prefer it to look shiney and new than original. I’ve taken a slightly different approach to home-computer and console games. Where posible I’ve replaced broken or badly scratched cassette cases. But as I never really liked the cardboard boxes for console games, even when they were new, I’ve scrubbed and dressed my loose carts in the wonderful, but sadly now out-of-production, Universal Games Cases.


While they’re great for SNES, Colecovision, and C64 (!) carts, the old ‘UGC’s are a touch too svelte for Vectrex games. But that’s where Customgamecases‘ transparent N64 cases come in handy.
What about the case art, I hear you gasp? Your own efforts to replicate those things are bound to be amatuerish and jarring.
Not so.
Nowadays, there are some great resources for case art online. Sites like thecoverproject.net offer standardised designs for a wide range of systems, which are easy to tweak, or template. Provided you use photo paper – which is relatively cheap if you buy in bulk – and have a half-decent ink-jet printer, they come out looking gorgeous.


Top tip: For the best effect, cut your cover-sleeves to size using a paper guillotine. If rounded corners are required, don’t be tempted to do it with scissors – it’ll always go a bit wrong. Instead get yourself a corner cutting die off the internet for consistent curves of uniform size. Note to self: If, or rather when I make any more, I’ll also be giving them a spray with some UV-resistant sealant. Some of my earlier efforts which have been proudly displayed on window-facing shelves for the last few years, have started to fade. And we certainly can’t have that.

Audio-Cassette Storage and Display
Then there are the cassettes. I mean, just look at those things. Aren’t they BYOO-TI-FOOL? Aren’t they just crying out for a pretty little nest to perch in? Thank goodness for B&Q… and for circular saws.

The year before last, I got myself a smallish piece of melamine-faced hardboard, and a length of white-coated mdf kickboard for just over a tenner. After carefully measuring the cassette cases, and the materials, I figured out that I could cut enough strips for a unit of 3 shelves, each wide enough to hold 22 cassettes. Of course, that would depend on a high level of accuracy in the cuts (there wasn’t much ‘wood’ to spare), and adding enough space above the height of the cassettes to comfortably insert a finger, and remove them from the shelves.
I could have just screwed it all together. But as I had a packet of dowel pins lying about, I decided to join it up with dowels and wood glue. Top tips: 1) Cover the line of the cuts with masking tape on both sides & cut with the intended fair-side down to minimise ripping to the melamine. 2) Be prepared to disguise the inevitable chips by rotating them out of sight, and/or using some white furniture wax to touch them in.


If it all goes reaonsably well, you could end up with something that looks a bit like this.

Plinths and monitor stands
Those old Speccy games sure are purdy. Compared to the machines themselves, however. Phwoaarrrrr. You know what I’m talking about. It’s not just the games that need to be ‘staged’. A suitable plinth or stand, can really help to show off your hardware.
Check this out:


Towards the end of the first ‘lockdown’, I replaced the deck in my back garden. For various reasons, including availability, sustainability and cost, I used Scottish larch, which seems to go a lovely orangey colour if you let it age away from the weather. Kindof makes you want to pick it up and take a bite. Nom.
Seriously, though – don’t do that. It’s not good for your teeth.
The wood was a bit knotty, which meant I ended up with a fair few smaller offcuts. After burning through half of them in the fire pit, I realised I could be putting them to much better use. A few hours of freestyling with a circular saw and ‘mouse’ sander, and I had the bits for a Vectrex stand cut out and ready to assemble. Look at the grain on that!
With the small pile that was left, I was able to knock up a couple of simple but effective plinths / monitor stands for my C64 breadbin (natch) and Colecovision. I’m no carpenter, but I’ve since learned that the kind of larch I used is a bit ‘motile’. Unless it’s screwed down tight it can twist and move as it dries out (larching about?) Over time, the risers on the plinths have cupped a wee bit. But they’re still strong enough to park a car on top.


Plastic shizz off the internet
I realise that not everyone has the tools, space, or time to make their own stands and storage racks. Even if you do, there are obvious cases where that’s not necessarily the best or most practical solution.
As luck would have it, there are plenty of online retailers, not least on eBay, who can sell you ready-made or bespoke stands, brackets and plinths to show off your retro treasures. The ones I’ve acquired have been 3-D printed, originally designed to display paperback books, and bent or laser-cut from sheet acrylic. I hope you’ll agree, the end result is a lot nicer than having them all plonked flat on the table top.


The shelves
If you’ve preened and polished your collection to perfection, and got it all ready to set out on display, you might want to think about the foundation of the display itself. That’s something I did after lockdown. Having just spent the best part of 2 years shut in a disintigrating wee study, I decided to freshen it up. That wasn’t quick, easy or particularly cheap. But you can read about the planning and process in my post on the Voyage of Deskovery Part 2

Epilogue
So there you have it. A pile of stuff doesn’t have to be a burden. It doesn’t have to stacked in heaps, or hidden away in the loft or under the floorboards. Thin it out, clean it up, and stick it on display. Get it out there for the world to see.
Got any tips for storage, display or presentation of old retro-gaming gear? Please share them in the comments below.


